Years ago I tried this scrappy scarf technique. Back then I had very little fabric and ended up using threads, ribbons, and yarns to make a small piece of fabric. Now that I have lots of fabric scraps, I wanted to make a regular size scarf!
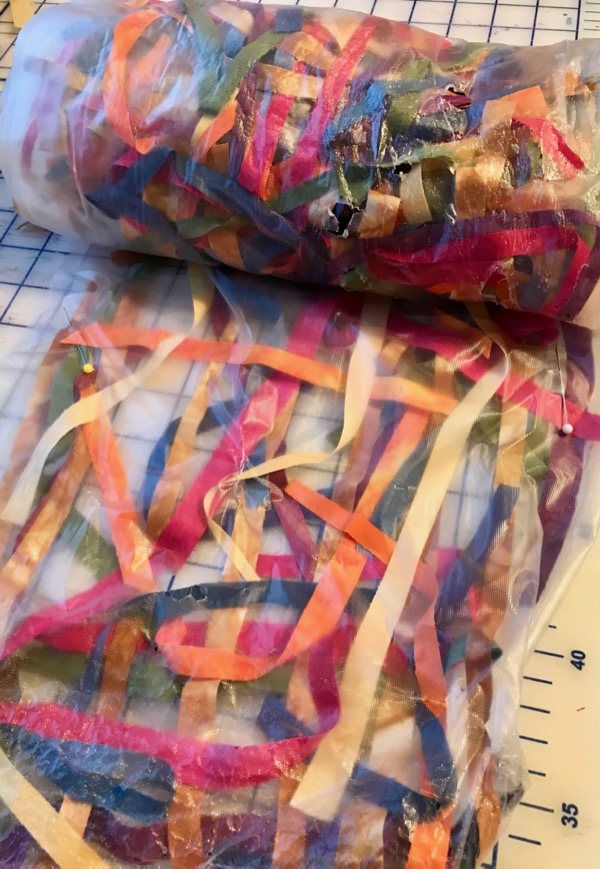
It starts with a water soluble stablizer (I used Solvy) and lots of fabric scraps. I took my rotary cutter and cut random strips of fabric from that fabric stash I talked about in the last blog post.
I decided I wanted my scarf to be 72 inches long, so I cut my Solvy and laid it on the work table. I left the width 12 inches which is the width of the roll I bought. I started by placing my first scrappy strips down on the piece of Solvy.
Then I added the next color strips.
I added another color and once I was happy with that, I added a second layer of bronze pieces. Since they were short pieces I added them vertically and horizontally down the scarf. Next time I’d like for this second row to be long strips.
Then I added additional scraps for the third layer.
All of those scraps were then covered with another piece of the water soluble stabilizer.
Before sewing, this sandwich needs to be pinned along the edges and in the middle to keep the fabric from moving. My scarf could have used a bit more pinning! Be careful when you roll it up to move it to the sewing machine because the fabric pieces will shift and fall out if you haven’t pinned it well.
Then head over to the sewing machine and sew rows horizontally. I am using gray thread, but you could use black or any other especially if you want the stitches to jump out. These lines of stitching don’t have to be perfect, but need to be pretty close to hold the fabric together.
I found using the clips a great way to hold each side of the scarf together while sewing.
When finished sewing horizontal, it’s time to sew rows the length of the scarf. Now is a good time to look and make sure all of the little pieces of fabric are caught with the stitches.
Once that is done, sew around the edges of the scarf twice to secure the edges.
Then it’s time to rinse under water to remove the stabilizer.
I then put it in a tub of hot soapy water to make sure all of the stabilizer is gone. I move it around in the suds and then rinsed it.
The scarf can then be laid out to dry or put in the dryer on gentle.
It turns out pretty cool.
There are lots of options for this technique. I’ve got so many scraps that I really need to explore them. If scarves aren’t your style, this new fabric can be made into all kinds of things from journal covers to wall hangings. I even saw where someone made clothes with it. Pretty amazing.
An update on the kitties. Puddin came down with the sneezes that Ally had, and we ended up with two sick cats. Finally they both are well, although we are still weaning Ally off her meds. This was a first – them both on the recliner together. Ally even licked Puddin, another first. I’ve lived with cats most of my life and it still amazes me how they all have different personalities.
Hope you are having a creative day! And while you’re being creative, be good to yourself. See you next time.
Find more inspiration at Off The Wall Friday!


I love your scarf! I’ve been making Sulky Solvy scarves for years, but yours has a totally different look because I use mainly silk scraps, yarn and thread. Yours really makes a statement!
Sherrie, Thanks. I have some silk scraps I want to use and see what they look like. Thanks for your kind words.
Lovely scarf and very please the cats are on the mend. xx
Thanks Kathy!
Me encanta este trabajo , pero no dispongo de dinero para comprar estabilizador soluble .Será posible usar un lienzo o gasa o organza como base
Marte, You could use another base, possibly a real lightweight fabric, but it won’t be the same project.