
I really love reverse applique. You can check out my tutorial here. However, I was only using a top and bottom fabric. Today I’m sewing reverse applique with four fabrics.

Julia with StitchesbyJulia has a great video on this technique. She starts with four 10-inch square fabrics. However, you can cut your fabric whatever size you want. I decided to go with the 10-inch squares. I start with these four fabrics I had printed or dyed awhile back.
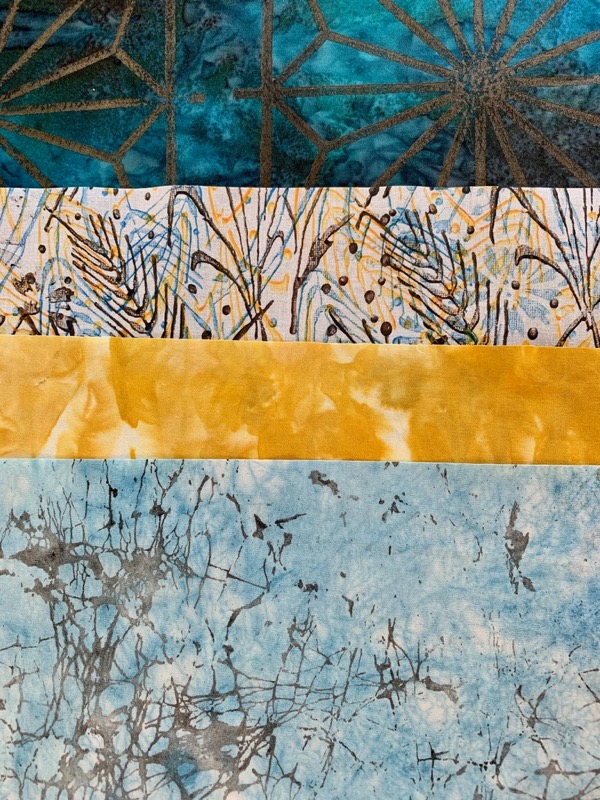
I cut them into 10-inch squares.

From those 10-inch squares I cut four five-inch squares.

I placed them in stacks making sure all four stacks were different.

Now it’s time to free motion the design. Since I’m not real good at free motion, I drew my design first with one of those Frixion pens that I can erase later with my iron.

When I was happy with my design, I free motioned on the lines I had drawn.

After all four were sewn, I ironed them to get rid of the pen lines.

Now the real fun begins! Using a small scissors cut the different layers until you get a the design you like.

Here are all four 5-inch squares.

I was having so much fun I made another set with other fabric.

Here are both sets again together.
That was so easy and I loved the designs. They can be sewn together or used by themselves on a project, but I think I need to take one more step. I’ll leave that to my next post.
For more inspiration, check out Off The Wall Friday!
Stay safe and healthy.
Discover more from Lynda Heines Fabric Design
Subscribe to get the latest posts sent to your email.
Hi Lynda, what a great idea. Your blocks look amazing! I’m looking forward to seeing your final result.
Andree, Thanks! Been having fun playing with them. Plan to post soon! Thanks for dropping by and commenting.
Beautiful designs, I really like your article
Cheryl recently posted..What Is the Best Basic Sewing Machine?
Cheryl,
Thanks.
These are marvelous, Lynda! And you should do something with them, that’s half the fun! When I was doing hand stitch meditations last year, I ended up with a lot of 4″ squares and combined some for mini-wall hangings, and mounted some others in shadow boxes. The FB group I belong to had lots of great ideas for using theirs, and that should be part of your challenge. Can’t wait to see what’s next!
Judy, Thanks. I have made cards with them but didn’t use the originals. I made copies on fabric, did a little stitching and attached to cards. Still have all of the originals. I like the idea of shadow boxes. Thanks.