
Happy Spring everyone! What a great way to celebrate the season by sewing up a garden or yard flag.
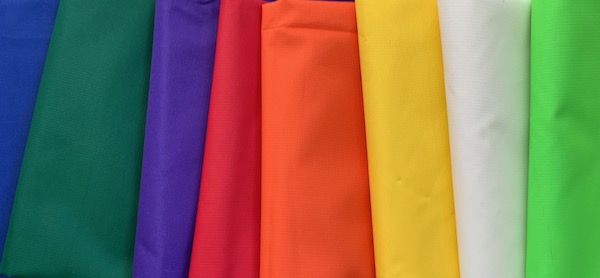
Two years ago I made a garden flag with waterproof canvas. Here is that post. It was a nice flag but it didn’t take long to fade, and it was heavy. I wanted to make something with ripstop, which is what most flags are made of, but I didn’t want to sew nylon. Then I found that ripstop also came in polyester so I bought some. Love all these beautiful colors!
I had no idea how much I’d love to sew on this stuff! I am using a 70/10 universal needle with Glide 40# thread.
Let’s get started. I am making a 12 x 18 inch flag that fits most flag poles. My fabric is cut 14 x 22 inches. I’m ironing it to get rid of the fold.

To hem I’m using a disappearing ink pen. I marked an inch on all sides. I’m working on the back side of the fabric.

Here it is all marked, ready to be folded. Fold in half to the line. It’s not a good idea to use pins on this fabric because it will make holes. Add clips, and finger press.

I like to iron it just a bit.

Then roll up one more time, and clip. You can again finger press or you can use the iron.

Do this on all sides. This is what it looks like before you take it to the machine.

Turn over and sew a 1/4 inch seam on all sides.

I then sewed a second hem about a 1/8 inch from the end just to secure it. Now to press it on the right side.

On the back of the fabric I measured 18 inches from the finished end and made marks. This is where I folded it over the fabric to make the sleeve.

Turn the fabric over, iron, and then draw a sewing line.

Now back to the machine to sew on that line. I ended up sewing another line of stitches just to make it extra secure.

Iron over the stitch lines on the right side of the fabric, and the mark will disappear.

And the finished base flag.

Now to add the design. I’ll show you the finished flag on the next post. The weather is beautiful here (finally), and I’m so ready to get out and play in the dirt! Thanks for dropping by.
Discover more from Lynda Heines Fabric Design
Subscribe to get the latest posts sent to your email.